410customs

Idahome

Joined: Wed May 2nd, 2018
Posts: 2165
Name: Jamie ... Occupation: Elevator Design Worlds Tallest Buildings ... Interests: Ranger Based Vehicles and OFFROAD ...
Reputation Points: 2165

|
Finishing up the engine bay wiring/plumbing and installed the new Taylor wires...... yeah buddy! Much better, these wires are so quality its awesome.
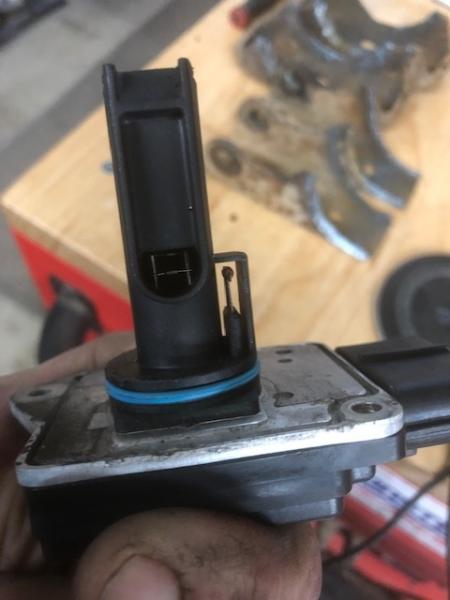
First up I needed to solder the starter feed wire, here is a typical underhood wiring connection done 410 style. With the new HF in town I was able to re up on my heat shrink supply.

Solder with pencil torch
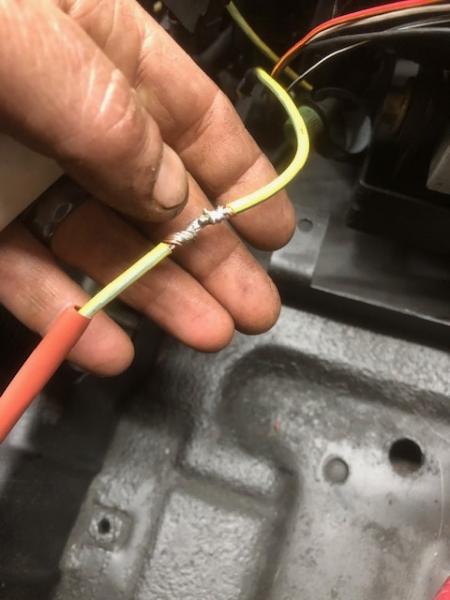
Double heat shrink before final wrap with tape and conduit
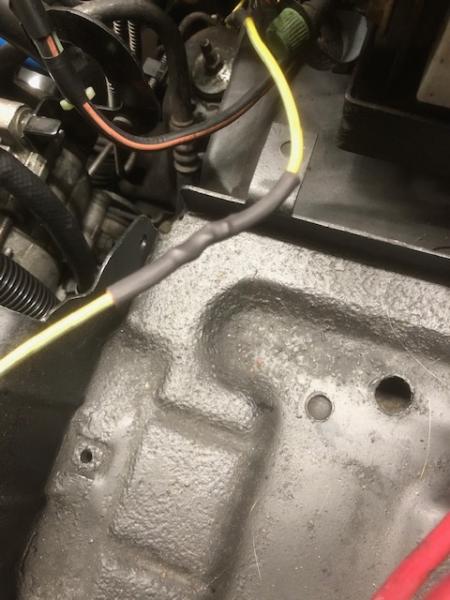
Now to tidy up all of the hose and wire routing so NOTHING comes close to our headers, also ignition wires do not cross each other OR any main power wires :)
Lacing in the wires, one at a time, start with the longest wires first. #8 is longest, then #4, then #7, then #3......... I've done this a few times
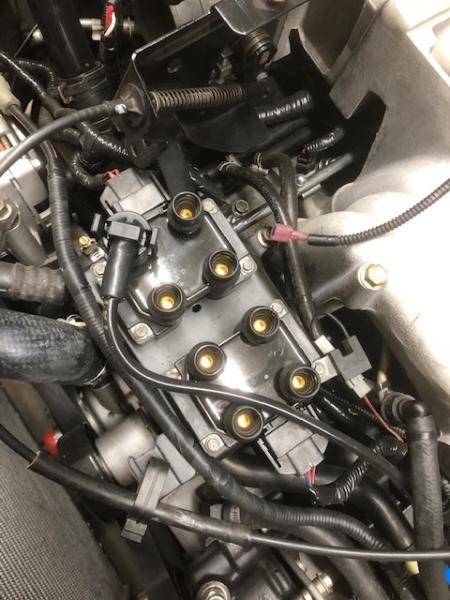
Heat socks come installed on the rear 4 cylinders and they do an excellent job of protecting the wires and boots from the header heat, so we also add socks to the remaining 4 wires.

I use a Q tip to apply dieelectric grease to the BOOTS and O rings at the coil pack connections. People the grease is for the boots to keep moisture out. Die electric grease DOES NOT conduct electricity! I see waaaaay too much grease on these all the time actually cause the misfire they are trying to stop. A q tip will give you a nice even coat. Up here in Idaho where there is humidity and we splash through water every day, the grease is NECESSARY
Lay each wire in carefully routed, it can take a few tries to get them exactly where we want them, away from heat!

I go through the wheel wells to attach the boots and socks to the plugs on the rear 4 cylinders. I use plenty of zip ties to ensure we do not melt a wire...here that is an expensive mistake
Pic of the grease, boot and new heat socks, this is how I do it.

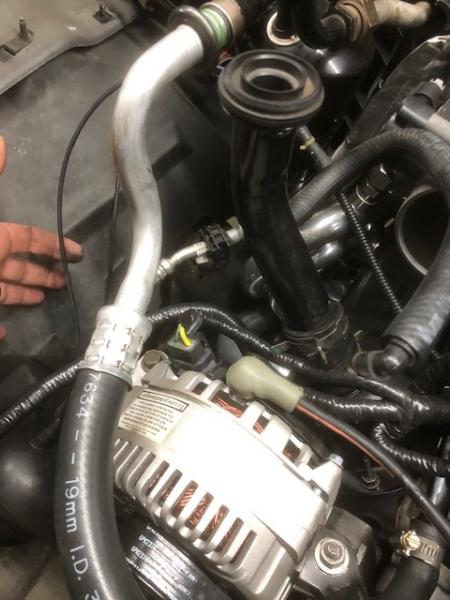
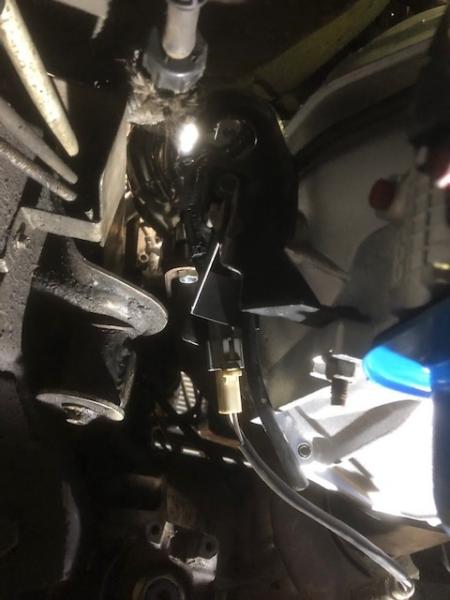
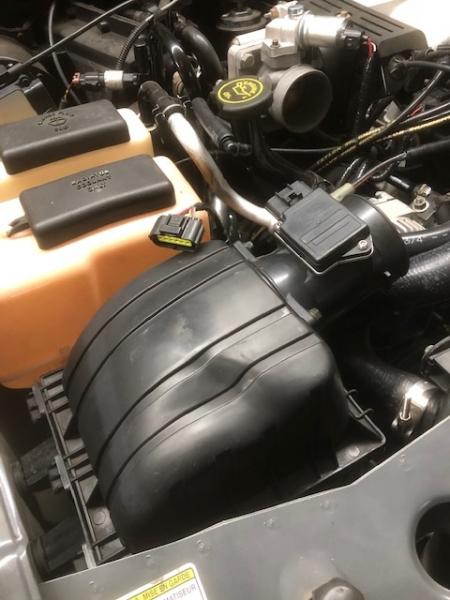
I also installed the v8 cruise control and throttle cable, did final connections on the EVAP line (fuel vapor) and all final routing of the plumbing and electrical. The alternator feed wire was final wrapped, as was the ac/ starter harness
Under hood pics:
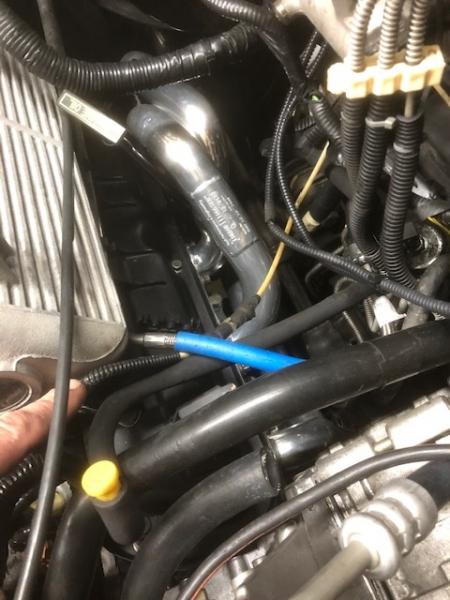
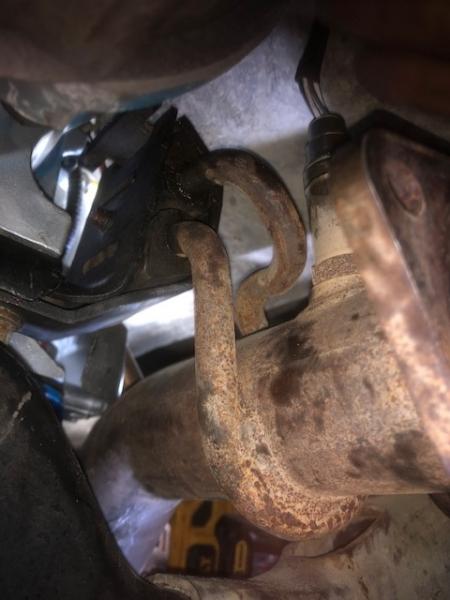
Here is your Evap hose Junglejoe, I ran a new line from the intake to the Ranger plastic elbow
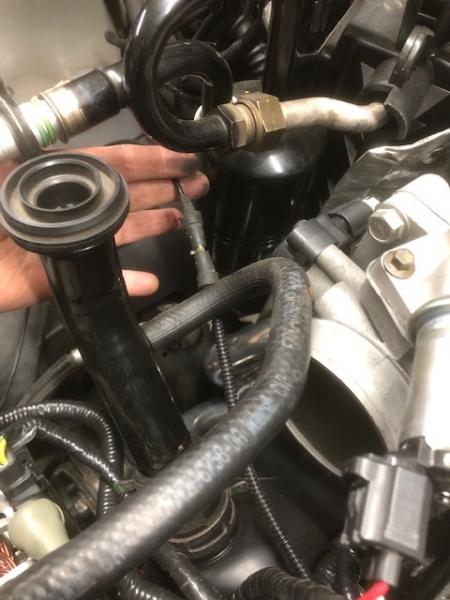
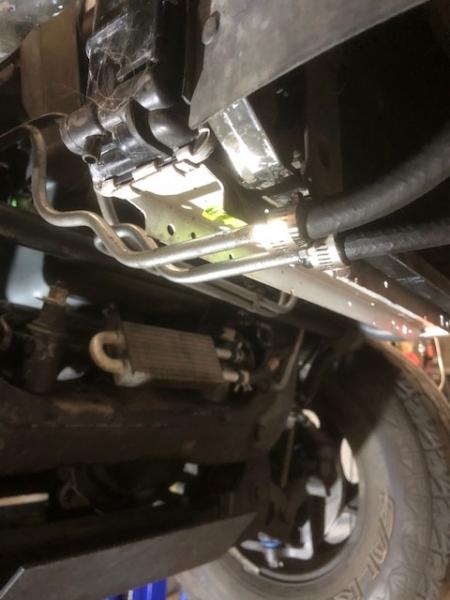
Plug wires routed away from headers and to the fender skirts where possible
You can also see (or not see that is the point!) the AC wiring harness was final wrapped and put in place

42 pin wiring plug in place, Alarm siren mounted back in it's spot, V8 cruise control installed and throttle cable cover
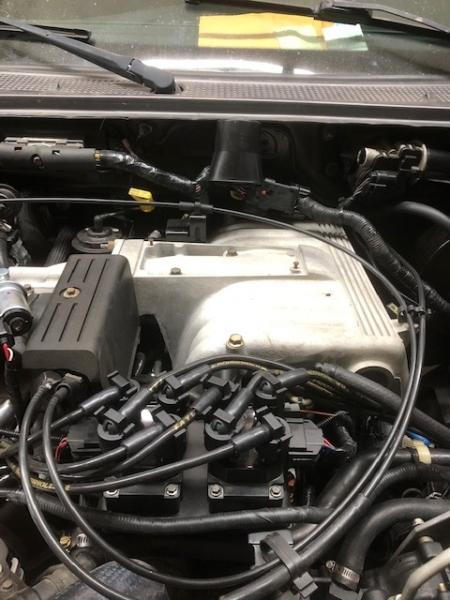
Careful routing here, plug wires should not cross each other OR any large power wires

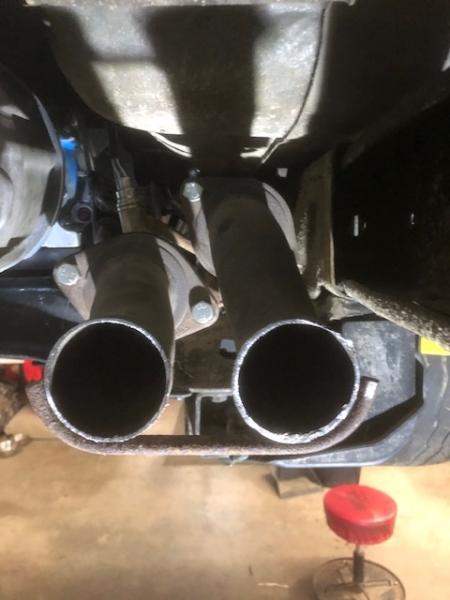
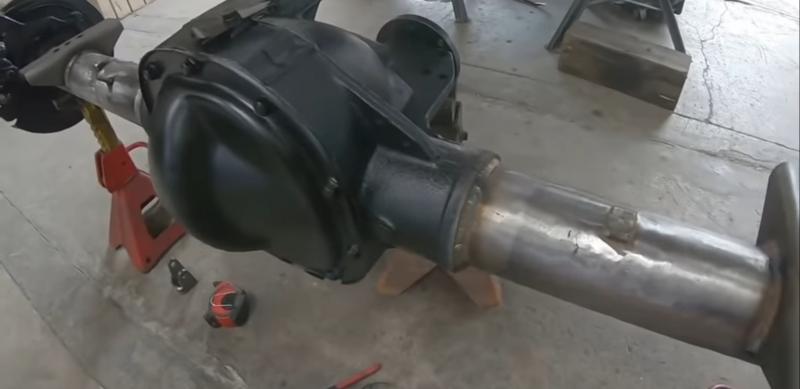
overall, sourcing a v8 fan shroud and shifter cable, then I can finally add fluids, lift her back up and finish exhaust
Interior work will happen today, I need to add the explorer PATS to this truck, move the tachometer wire and a few other small things inside
Getting closer to turning the key! (only about 2 weeks behind ouch!)
Battery cables, alternator wire, all in their final locations. I will be adding copper lugs to the end of all power wires at the battery
new/used/proper oil fill cap also in the works

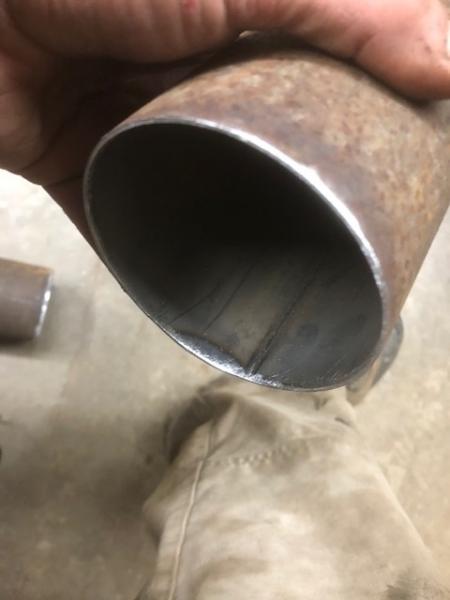
Final Rockauto order was also placed, 4 new U joints, two new exhaust gaskets, and a new transfer case rear driveshaft seal..... should be running and ready for these parts before they arrive early next week.
____________________
I build custom RBV, specializing in drivetrain conversions, wiring, suspension and complete custom trucks
|