| PM | Quote | Reply | Full Topic |
Idahome

Joined: Wed May 2nd, 2018
Posts: 2165
Status:
Offline
Reputation: 
Reputation Points: $user_rep
Torture Tuesday for all of us....I too want this sucker to be done....but we must be patient!! time is money and any time I get you better believe I am in the shop working on this SOB
First up the owner supplied me with this wicked cool oil drain adapter and now I must get one or two for myself, this thing is just plain awesome, especially for this truck with its massive skid plate, oil changes would be very messy without a long funnel or better yet this dealio from "Valvomax"
Part number:


The kit comes with a very slick drain plug adapter that threads into the oil pan. It is sealed to the pan with a flat crush washer. Inside the valve is a check ball and then a nice aluminum cap that is sealed with a rubber O ring. When its time to drain your crankcase oil you simply unscrew the cap and screw on the tube adapter......now you have a nice long clear tube to drain all oil cleanly away from the skid plate. Very very slick.
Flat washer on oil pan side, I still used some flange sealant on this just to make sure we are leak free

Rubber O ring on the "cap" side of things

I think I'm in love, shown with the cap on

Used it to drain the Jasper reman "shipping/assembly lube"

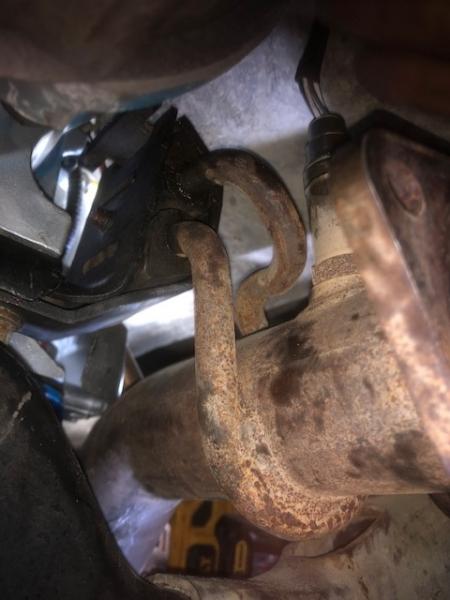
remember the 5.0 stock transmission mount / exhaust hanger? Well she's all cleaned up, painted and installed
This is a huge PITA to do in the truck, but if your like me and have done this a few times...you can get it. I hope you are good with your hands because you also have to hookup 3ea 02 sensors without removing the seats and center console...... its like magic

further away shot

Here's a better pic of the mount installed properly
Now that the downpipes are supported at the rear and all 02 sensors are hooked up. you can final tighten the downpipe to header connections
good shot showing the installed trans crossmember, trans mount, exhaust hanger, downpipes and now the downpipes to exhaust adapter sourced from a 99 explorer...... true bolt in exhaust!! No cutting of pipes if the trans needs to come out or what have you

New exhaust pipes are now welded to this piece after it is "modified" a bit to better fit the ranger...more on that later.
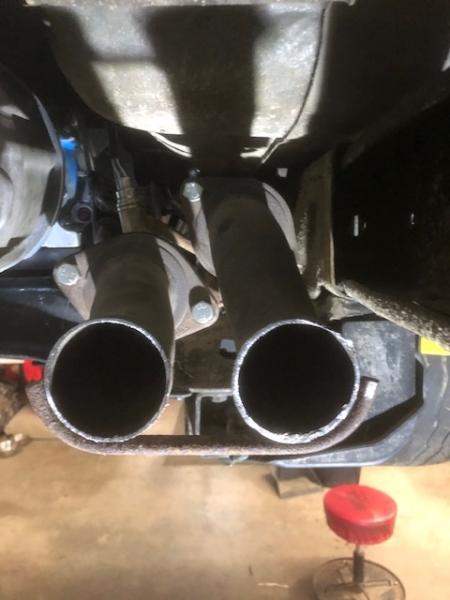
also I need two new exhaust gaskets for these flanges

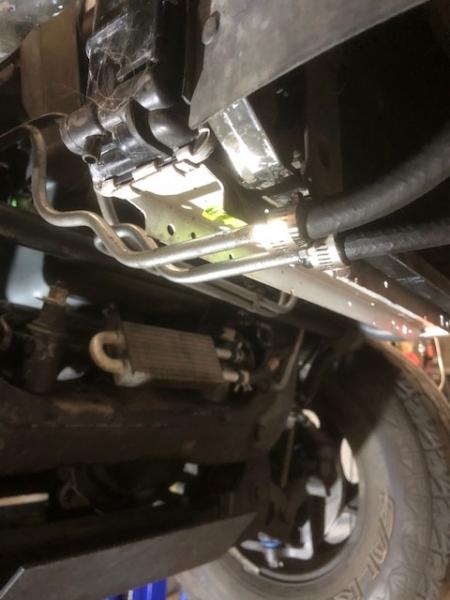
time to source some more small parts from donor 5.0 sploder


pictured is a transfer case vent line, the 5.0 shifter cable bracket for the side of the trans, and the all important trans cooler line hanger for the bottom of the radiator... off to the parts washer, then install
before
After

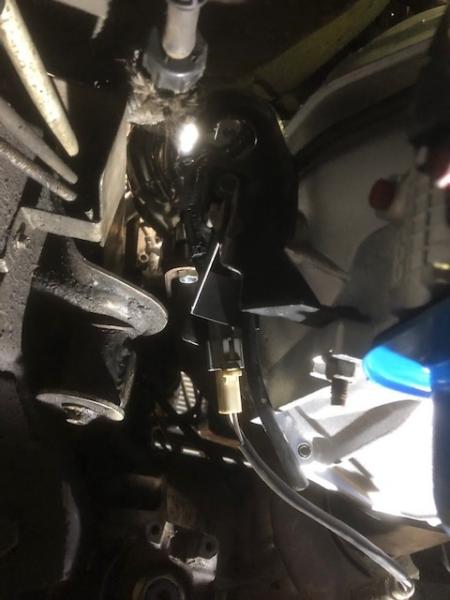
Shifter cable bracket and hardware installed now I need a 5.0 shifter cable LOL
These may seem like small updates but this stuff is very time consuming :) getting the exhaust hanger in place is so much fun, plugging in the 02 sensors is also fun fun especially when there are sharp screws pointing down from the center console..... done now!
Don't spend too much time on the 02 sensors down here, it only takes 20-30 minutes to remove front seats, console and pull the carpet back....then you can EASILY access the top of the trans.
I've done this enough times to tackle it from underneath........ you get good at clipping 02 sensors together with one hand, left hand, blind working with your arm up and over the transmission
New Harbor freight opens TODAY!!!!!!!!!!!!!!!!!!!!!!! Ill be back........
____________________
I build custom RBV, specializing in drivetrain conversions, wiring, suspension and complete custom trucks